23 October 2026
How to dial in a hand grinder for espresso (a patient step-by-step)
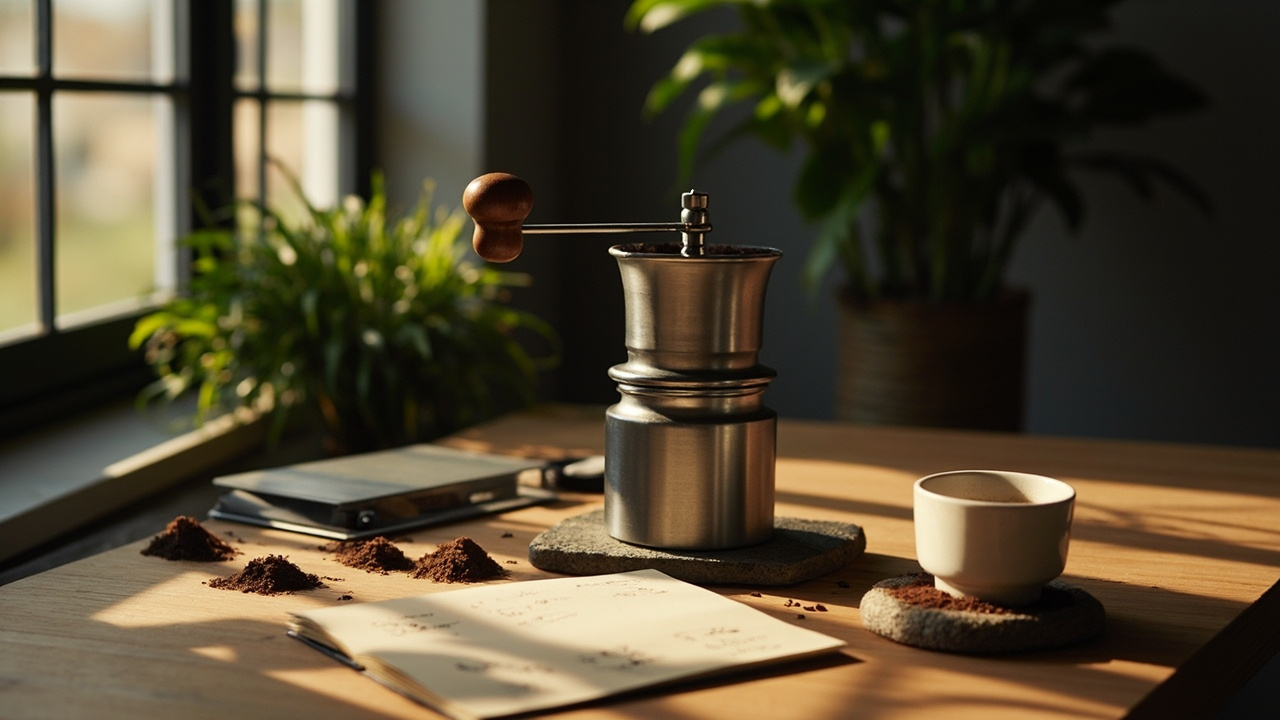
Hand grinders are unforgiving: the same grinder that pulls a sweet shot on Monday can grind one click too coarse on Tuesday and leave a sour, gushing mess. Knowing how to dial in a hand grinder for espresso is less about finding a perfect number and more about making small, repeatable adjustments while watching the shot develop.
Table of contents
- Key takeaways
- Why a hand grinder behaves differently from an electric one
- Where to set the grind on your very first pull
- What the first shot is actually telling you (and what to ignore)
- How do you step finer without overcorrecting?
- When to stop chasing and accept a working recipe
- How long should a hand-ground espresso shot take?
- Common first-week problems (channelling, fast shots, stalled shots)
- Sources
Key takeaways
- Begin from the grinder’s finest setting, then move gradually coarser until the first espresso shot flows rather than gushes or stalls.
- Treat taste as the final authority; extraction time is a useful diagnostic, not a rigid pass-or-fail rule.
- Change one small adjustment at a time and purge the grinder consistently so stale grounds do not distort the next shot.
- A balanced shot may land near the Specialty Coffee Association’s suggested 25–30-second window, but dose, yield, coffee and equipment all matter.
- Once a shot tastes balanced, write down the recipe and stop adjusting the grinder for that coffee.
Why a hand grinder behaves differently from an electric one
A hand grinder does not inherently produce worse espresso than an electric grinder; it depends on consistent particle size, sufficient fines, and careful adjustment. The difference is that every small burr movement occurs slowly, and small changes can have a relatively large effect.
That sensitivity makes hand-grinder dialing a matter of observation rather than guesswork. You must understand the grinder mechanism, clean burr geometry and adjustment range before trusting visual clues. The comparison in conical and flat burr grinder designs explains why two grinders with apparently identical settings may still behave differently.
A stepped or click-based design is convenient because every movement is repeatable. A stepless design offers finer control, but it demands a consistent reference point. In either case, the grinder’s zero point does not correspond to a universal espresso size; it only marks the beginning of its adjustment range.
The real challenge is particle distribution. Burr alignment, coffee age, roast development, dose and grinding technique all affect the shot. The setting matters, yet two doses ground at the same nominal size may not taste identical.
Where to set the grind on your very first pull
Start at the finest setting on a new hand-grinder espresso grind, dose coffee, and grind several seconds longer than intended before the first shot so the burrs settle into position.
Then begin pulling and adjust the setting more coarsely than seems necessary. Espresso is much easier to correct from slightly coarse than from severely fine. A coarse first attempt may taste underextracted, but it is less likely to clog the basket or encourage an excessive correction.
Use a repeatable preparation sequence:
- Purge old grounds from the previous shot.
- Dose a defined amount of coffee.
- Grind to the same approximate number of seconds each time.
- Distribute and tamp consistently.
- Begin the shot and observe its entire development.
If your grinder permits an exact dose adjustment, control the coffee mass first, then change grind size. That avoids confusing a dose difference with a grind difference. The logic behind a single-dose espresso grinder comparison remains relevant even when the grinder is operated by hand.
A first setting is not a verdict. Its purpose is simply to place the next decision inside a useful range.
What the first shot is actually telling you (and what to ignore)
The first shot tells you how water is moving through the coffee bed, where extraction may be too weak or too strong, and whether your process is repeatable. It does not tell you everything at once.
Watch the shot as it leaves the group head and in the cup:
- Very fast and pale: The grind may be too coarse, the dose too small, or water pressure may be low.
- Fast but dark: The shot could still be under-extracted; darkness alone does not prove adequate flavor.
- Slow and harsh: The grind may be too fine, the dose too large, or the basket obstructed.
- Uneven flow: Channeling may be present, often because of poor distribution or an uneven coffee bed.
- Strong initial flow that fades and gushes: The grind may be too coarse for the chosen recipe.
During first-shot espresso timing, record three facts: dose, beverage yield and extraction time. Start the timer when liquid first appears, not when you first touch the portafilter.
The Specialty Coffee Association suggests an extraction window of 25–30 seconds for a double espresso measuring 36–40 grams, but that is guidance rather than a universal quality standard. A faster shot can taste balanced, and a slower one can taste poor.
Ignore color alone, the exact number printed on the grinder, and any promise that one taste can diagnose a mechanical fault.
How do you step finer without overcorrecting?
Step finer by making one small adjustment, purging consistently, changing as little dose as possible, and then comparing the new shot against the previous one on taste and flow.
Begin by marking the current setting. On a stepped grinder, one or two clicks may be a sensible experiment. On a stepless grinder, move only a few degrees or fractions of the marked adjustment ring. Precision comes from consistency, not from making tiny permanent changes.
After each adjustment:
- Purge a short dose through the portafilter.
- Grind the next normal dose.
- Keep distribution and tamping unchanged.
- Pull the shot and compare dose, yield and time.
- Decide by flavor, then confirm with flow.
If the previous shot was sour, the relevant espresso sour taste fix may involve a finer setting, but first rule out insufficient yield, poor distribution or an unstable dose. More detailed diagnosis appears in espresso flavor fixes for sour and bitter results.
Never move two variables together. Changing grind size while doubling the dose makes it impossible to know which adjustment worked. If a finer setting produces the expected improvement, make another equally small move. Continue only while the flavor becomes clearer and sweeter rather than merely darker.
When to stop chasing and accept a working recipe
Stop adjusting when the espresso tastes sweet, balanced and repeatable, even if its extraction time falls outside a commonly cited target window.
A working recipe needs three forms of stability:
- The measured dose remains consistent.
- The shot yield and timing are reasonably repeatable.
- The flavor remains balanced across two or three attempts.
Save the grinder setting, dose and yield notes. Grind adjustments based on bean humidity, roast age or coffee variety can make an old setting unsuitable tomorrow. If your grinder is stepped, write down the click number; if stepless, note the ring position as precisely as practical.
If the brew is drinkable but imperfect, decide which component matters most. Weak flavor calls for a controlled move toward finer extraction. Excessive bitterness calls for coarser, but first rule out roast character, dose and water temperature.
The point of dialing in espresso step by step is not to eliminate all variation. It is to create a repeatable starting point from which you can make one deliberate change.
How long should a hand-ground espresso shot take?
For a conventional double espresso, begin by aiming for roughly 25–30 seconds while using a yield and taste appropriate to your coffee. Use time only as supporting evidence because dose, basket capacity, roast and flow resistance can all change the result.
A more useful measurement is beverage yield. The Specialty Coffee Association describes a double espresso as 36–40 grams of beverage, but your chosen coffee and basket may justify a different target. Track output by scale rather than estimating from the cup.
For first-shot espresso timing, compare three stages:
- The time until liquid first appears.
- The appearance and stability of the flow.
- The total time needed to reach your target yield.
A slow appearance does not automatically mean the grind is wrong. The basket may still begin flowing normally, and the final taste remains decisive. Likewise, a rapid appearance is not automatically failure if extraction later stabilizes and the cup tastes balanced.
For a repeatable manual trial, use a timer during grinding and a separate approach to timing the extraction. The hand-ground espresso timing test provides a structured way to separate inconsistent preparation from a genuine grind adjustment.
Common first-week problems (channelling, fast shots, stalled shots)
Why is my espresso channelling, and should I grind finer?
Channelling means water is finding easier paths through the coffee bed rather than extracting evenly, so inspect distribution and tamping before changing the grind. A finer setting can worsen weak flow by increasing resistance.
To address it:
- Make sure the basket rim is clean.
- Break up clumps in the dry grounds.
- Distribute before tamping.
- Keep the portafilter level.
- Confirm that the basket is properly seated.
If one part of the basket remains dry or the flow splits visibly, diagnose preparation rather than chasing time. Change one variable, repeat the shot and inspect the puck afterward.
Why is my espresso pulling too fast, and what grind change should I make?
A fast shot is often too coarse or under-extracted, but dose, yield and channeling must be checked before you move the grinder. Make a small adjustment toward a finer grind only if the flavor is weak, sour or hollow.
If the cup tastes balanced despite a short extraction time, the shot may simply suit that coffee better than a longer one. If a finer setting fails to improve sweetness, return to the last acceptable setting and inspect distribution and yield.
Why is my espresso stalling, and should I grind coarser?
A stalled shot usually indicates excessive flow resistance or an obstructed coffee bed, so move only slightly coarser or investigate puck preparation and basket condition. If pressure builds before any liquid emerges, stop the extraction rather than forcing it.
Check for:
- A stuck or blocked portafilter
- Grounds trapped in the basket rim
- Excessively fine grinding
- A disturbed or poorly distributed coffee bed
Do not compensate for a blocked setup by making a large grind change. Clear the obstruction, restore the previous repeatable process and pull again.
People who decide that a manual workflow is becoming the limiting factor can review the available coffee equipment selection, which includes hand and electric grinders; it is not a substitute for learning how to read the shot. The immediate goal remains simpler: change one variable, repeat the process and let taste guide the grind.