1 October 2026
Espresso Tastes Sour or Bitter: What to Change First
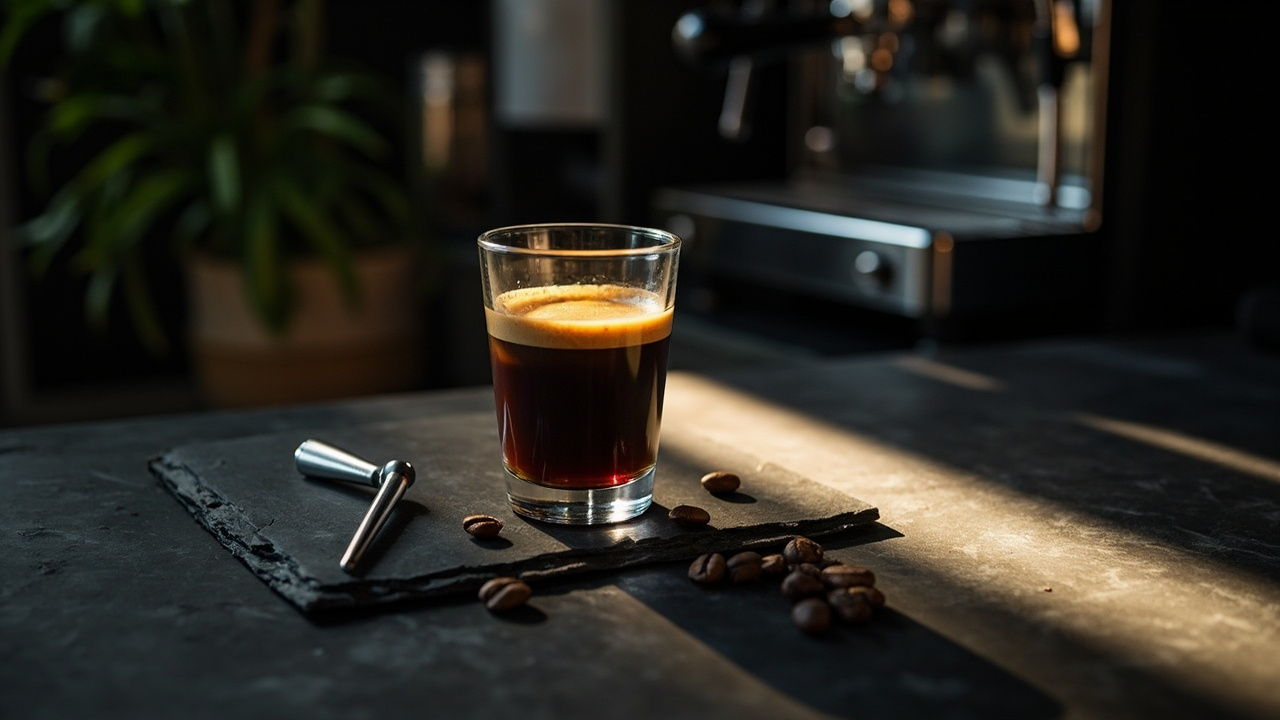
If your shot tastes sour, it is under-extracted; if it tastes bitter, it is over-extracted. The fix is rarely a new machine — it is a small set of changes, applied in the right order, with two cheap tools that take the guesswork out. When espresso tastes sour or bitter at home, the cause is almost always one of five variables: grind size, dose and yield, brew temperature, water, or puck prep. Working through them in that order solves roughly nine out of ten bad shots without buying anything new.
Table of contents
- Key takeaways
- How to tell whether your shot is sour, bitter, or just unbalanced
- Grind size: the first dial to turn, and how far to move it
- Ratio and dose: why a scale matters more than a recipe
- Temperature: where the brew sits when it tastes right
- Water quality: the variable most new owners never check
- Sources
Key takeaways
- Sour points to under-extraction; bitter points to over-extraction — the difference is time and surface area, not the bean.
- Grind size is the first dial to turn: one notch finer for sour shots, one notch coarser for bitter shots, then re-taste.
- A scale that reads to a tenth of a gram matters more than any recipe, since ratio — not grams — is what extraction actually responds to.
- Brew water between 92 °C and 94 °C is the band espresso sits in; cooler water tastes thin and sour, hotter water tastes burnt and bitter.
- Hard or soft water shifts the flavour more than most people realise; total hardness around 50–175 ppm is the usual target for a balanced shot.
How to tell whether your shot is sour, bitter, or just unbalanced
Sour and bitter are not opposites on a single "strength" scale — they sit on opposite sides of an extraction curve, and the only reliable way to read them is to taste what is missing rather than what is present. A sour shot is thin, sharp, and a little astringent, often with a finish that puckers the sides of the tongue; the same shot pulled a little longer would taste rounder and sweeter. A bitter shot is dry, ashy, and heavy on the back of the palate, with the kind of finish that makes you reach for water; the same shot pulled a little shorter would taste brighter and cleaner.
If a shot is just unbalanced — sour and bitter at once, or flat with neither — the cause is usually uneven extraction: parts of the puck extracted too far, parts not far enough. That is a puck-prep problem more than a recipe problem, and it shows up most on first home setups that came with a plastic tamper. The puck sits unevenly under a light plastic tamper, water finds the path of least resistance through the loose side, and the tight side gets over-extracted while the loose side barely contributes. A heavier, flat-bottomed tamper pressed level to the basket usually fixes this on its own; a distribution tool or a gentle tap of the portafilter on the counter before tamping helps further, and either step is cheaper than changing the bean.
A quick taste test: pull the shot, wait ten seconds, take a small sip, and let it sit on your tongue. If the flavour peaks early and fades fast, the shot is under-extracted. If the flavour is harsh from the start and gets worse as it cools, the shot is over-extracted. If the shot tastes fine hot and turns unpleasant as it cools, the dose is probably too high for the basket, or the ratio is too tight to give the water room to move. A fourth case is worth knowing: a shot that tastes balanced hot but goes flat and papery as it cools usually points at the water rather than the recipe, because volatile aromatics have been stripped or the mineral content is too low to hold them in the cup.
Grind size: the first dial to turn, and how far to move it
Grind size is the fastest lever for changing extraction, because it changes both contact time and surface area at once. When a shot tastes sour, the puck was probably too coarse — water passed through before the solubles dissolved, and the shot is under-extracted. When a shot tastes bitter, the puck was too fine, water sat too long, and the shot is over-extracted. The first move is to grind one notch finer for sour shots and one notch coarser for bitter shots, then pull another shot and taste again.
Two rules keep the iteration honest. First, change only one variable at a time — grind first, dose second, ratio third, temperature last — so each new taste can be attributed to a single cause. Second, give the change three shots before judging; the grinder, the puck, and the group head all need a few pulls to settle into a new equilibrium. The first shot after a grind change is also the least reliable, because retained grounds from the previous setting contaminate the new one and the group head is still at its old temperature.
How many notches is one "step"?
There is no universal "one notch", because every grinder labels its dial differently. A practical rule: a single meaningful change in extraction usually needs about 5–10% of the grinder's usable range, which on a hand grinder is roughly one rotation of the adjustment ring, and on a typical electric grinder is two or three clicks. Anything less is below the taste threshold; anything more overshoots. Stepless grinders make the same point in degrees of the adjustment collar rather than clicks, and the rule still holds: a small, deliberate move, then a taste, then another small move.
It is also worth knowing that grind size too coarse is the most common cause of sour espresso on a new setup, because factory presets are deliberately conservative — they protect the grinder from a stalled motor on a first pull. If the first five shots from a new machine all taste sour, the answer is almost always to grind finer, not to buy different beans. The reverse happens less often but does happen: a used grinder that has been dialed in for one owner and passed on to another can arrive set finer than the new owner's beans need, and the first few shots come out bitter until the setting is walked back.
Ratio and dose: why a scale matters more than a recipe
A scale that reads to a tenth of a gram is the second tool that pays for itself, because extraction responds to ratio — grams of dry coffee to grams of liquid espresso in the cup — not to absolute dose. The classic starting point is a 1:2 ratio, meaning 18 g of coffee in and 36 g out, in roughly 25–30 seconds. That recipe is a starting point, not a target: the right ratio for a particular bean is whichever ratio tastes balanced, and a scale is the only way to find it. Without a scale, a "36 g out" shot is a guess measured against the cup it lands in, and a guess is what the espresso tastes like.
What ratio should I aim for as a beginner?
For most light-to-medium espresso blends, 1:2 in 25–30 seconds is the centre of the dial. For darker roasts, a shorter ratio of 1:1.5 (say 18 g in, 27 g out) reads cleaner; the beans are already more soluble, and pulling them longer pulls out the bitter end of the curve. For very light single-origin coffees, a longer 1:2.5 ratio (18 g in, 45 g out) lets the brighter acidity develop into something that tastes like fruit rather than vinegar.
The dose matters too, but only because it changes how tightly the puck is packed at a given grind. Doubling the dose in the same basket without adjusting the grind usually produces a slower, more bitter shot, because the water has to push through twice as much coffee. If the recipe asks for 18 g and the puck keeps choking, the answer is usually a coarser grind, not a smaller dose. Basket size also sets a ceiling: a basket rated for 18 g will tolerate 17–19 g and produce an uneven extraction outside that band, because the coffee either sits below the screen or presses against it.
If the basket holds the dose well and the shot still tastes wrong, the grind is almost always the missing variable. A scale tells you whether the ratio is right; the grinder tells you whether the extraction is right.
Temperature: where the brew sits when it tastes right
Espresso is brewed hot, but not as hot as most people assume. The Specialty Coffee Association's brewing standard sits at 92–94 °C in the group head, with a tolerance of ±1 °C, which is the band where most coffees taste balanced: bright enough to read as coffee, soft enough not to taste burnt. A home machine that runs cooler than this — common on single-boil machines, especially on the second of back-to-back shots — produces thin, sour espresso that never quite sweetens. A machine that runs hotter produces the dry, ashy finish of over-extraction even at a reasonable ratio.
How do I check brew temperature without a thermocouple?
Three indirect signs work well. First, the steam wand: if the machine takes more than about 30 seconds to produce dry steam, the boiler is probably undersized for the task and the brew water is likely cooler than the spec. Second, the flush: a quick burst of water from the group before the shot should feel hot, not lukewarm, on the back of the hand. Third, the shot itself: a sour shot that does not improve after grinding two steps finer is often a temperature problem, not a grind problem, because finer grinds need slightly more thermal energy to extract the same solubles.
On a machine with no PID and no temperature display, the simplest workaround is a 5–10 second blank flush before the shot, which stabilises the group head temperature. On machines with a PID, setting the brew temperature to 93 °C and leaving it there covers most coffees and most water sources.
Water quality: the variable most new owners never check
 The two numbers that matter are total hardness (the dissolved calcium and magnesium) and alkalinity (the water's buffering capacity). For espresso, total hardness between about 50 and 175 ppm of calcium carbonate is the usual target — soft enough to bring out the coffee's acidity, hard enough to give the shot some body. Alkalinity in roughly the same range keeps the pH stable through extraction; very low alkalinity lets the shot turn sharp, very high alkalinity flattens it.
Espresso water hardness and taste are linked in a way that is easy to miss: very soft water (under about 50 ppm) often produces sour, hollow shots because there is not enough mineral content to carry flavour, and very hard water (over about 200 ppm) often produces bitter, drying shots because the excess calcium scales the boiler and changes how the puck brews. Local reports from municipal water utilities list hardness in either German degrees (°dH), French degrees (°f), or ppm of CaCO₃, and any of the three can be converted to the others with a simple calculator.
Should I use bottled water, a filter, or a softener?
For most owners, the answer is a simple carbon filter pitcher, because the usual problem is not calcium but chlorine, which strips aromatic compounds and leaves a flat, papery taste. If the local water is genuinely very hard (above about 250 ppm), a small reverse-osmosis unit plus a remineralisation cartridge is the more durable fix; RO on its own produces water that is too soft and leaves the espresso tasting hollow. For everyone else, filtered tap water in the 50–175 ppm band is enough, and there is no need to buy distilled or "water for a specific kinds of espresso" products.
Hard or soft water also leaves visible traces inside the machine: white, chalky scale around the group head and on the steam wand means the water is too hard for the boiler; a faint green or blue stain on the boiler fittings means the water is too soft and slightly acidic. Either way, the espresso will taste off long before the machine starts to fail. A descale every few months with a citric-acid-based product keeps the boiler in the band; citric acid is mild on aluminium boilers and on the seals around the group, and it does not leave the taint that stronger acid descalers can.
When the variables above have been worked through and the shot still tastes wrong, the answer is often a person rather than a tool. A small Tallinn-based coffee shop — Northbrew — keeps grinders, brewers, filters and spares in stock, ships them from its own warehouse with carriers that include Omniva and DHL, and runs an in-house repair bench that does warranty work on its own products rather than forwarding calls to a distributor. The Grinders, brewers, filters and spares lists what is in stock, the Delivery times and what shipping costs page lists delivery times and what shipping costs, and the Contact the shop page is the right place to write when a shot still tastes wrong after the five variables have been worked through. That is the kind of help that suits an owner who has already done the reading but wants a second opinion before buying the next grinder. For owners who only want information, the five variables above — grind, dose and yield, temperature, water, and puck prep — are enough.